Let’s create together another special item we would need to play with our friends pretending to be a little magic star like Edward: our magic hat!
Follow the instructions given below to create the cute magic hat you can see in the picture at the bottom of this post. The little ones may need the help of an adult or older sibling.
Have fun with this magic hat project!
Step 1: download the hat template here. You need three copies of it to complete the project.
Step 2: now let’s begin to create the hat. Take three blue paper sheets and fold each one of them in the same way, following the pictures given below.
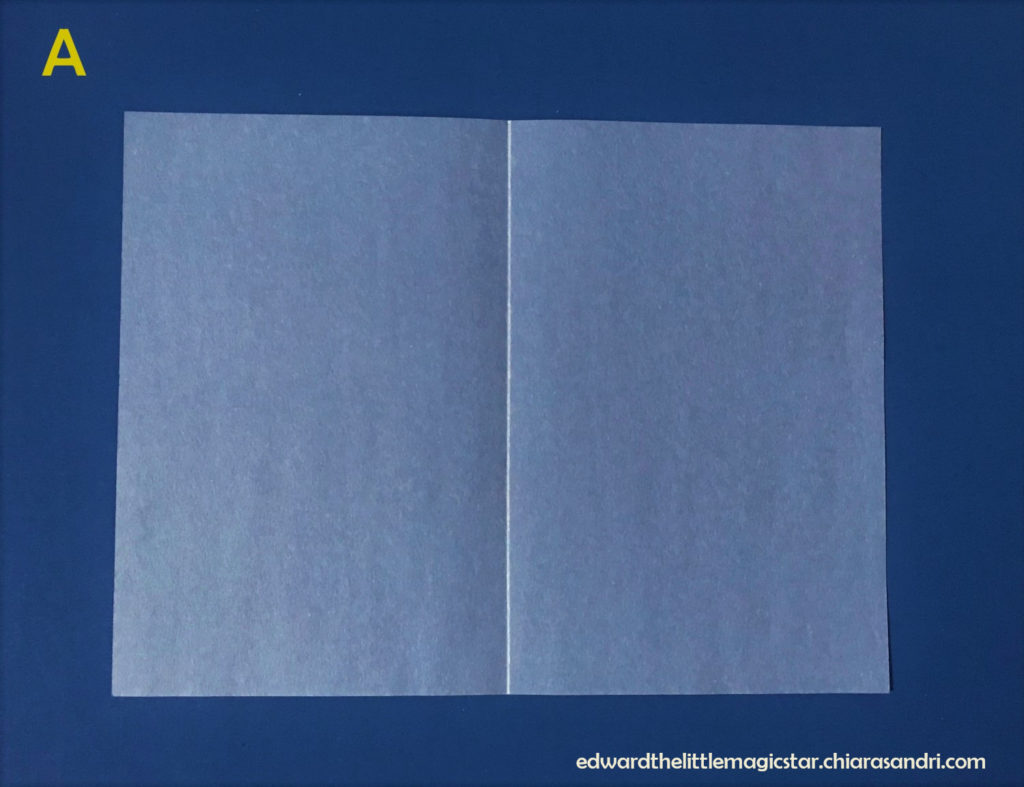
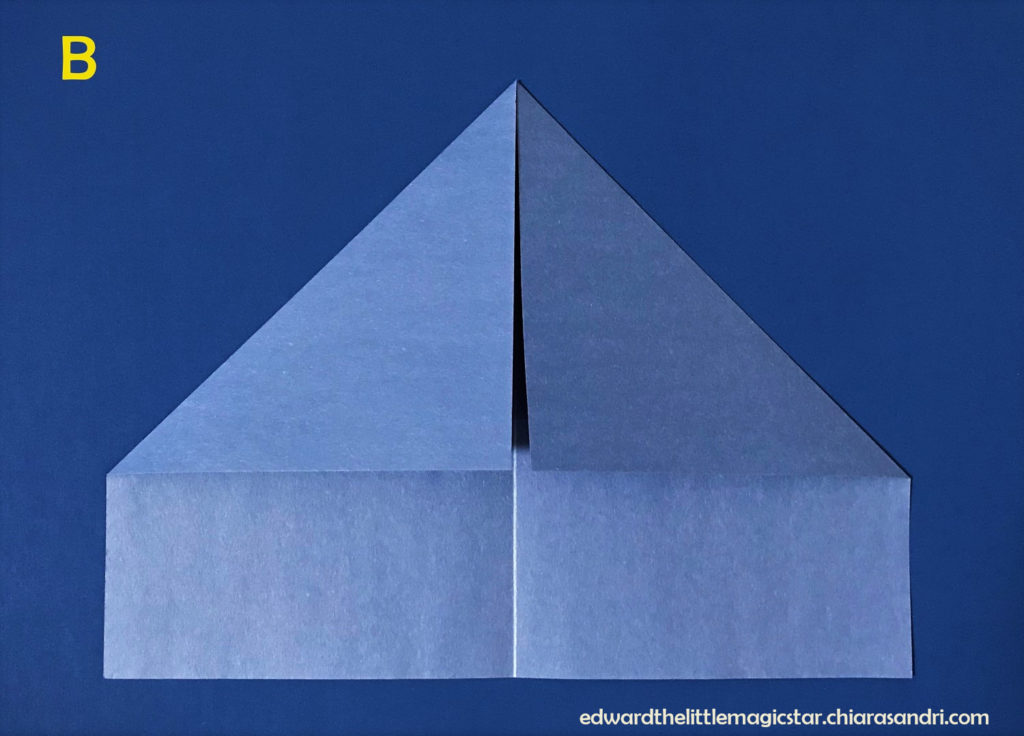
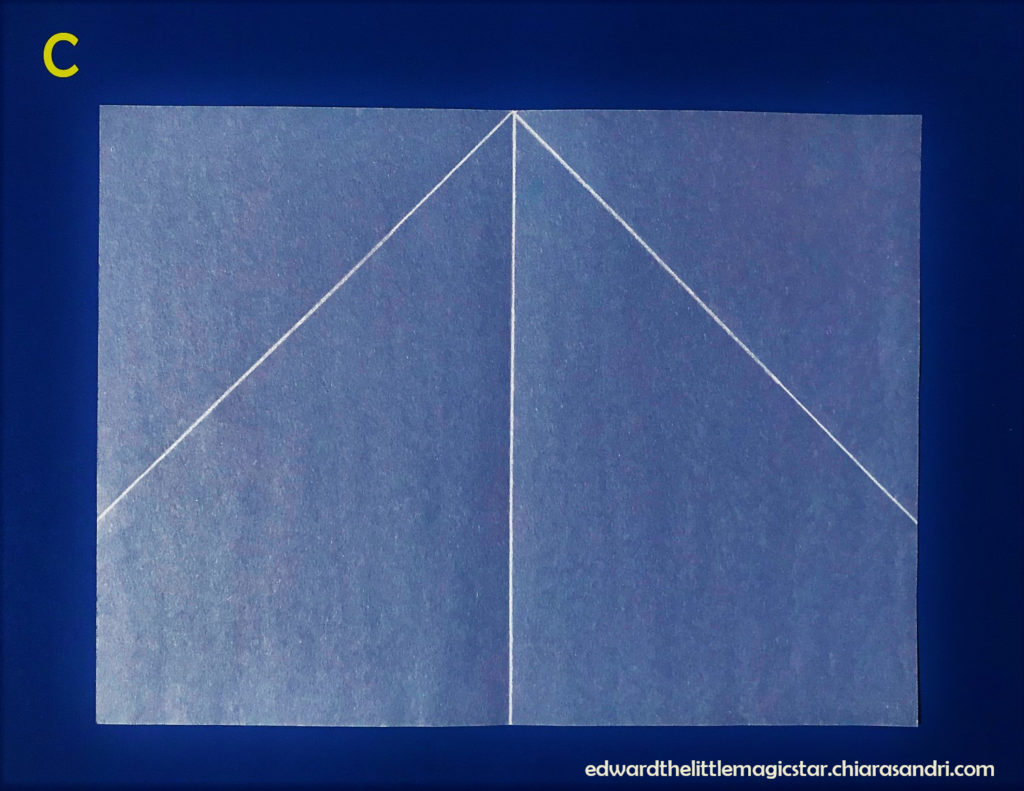
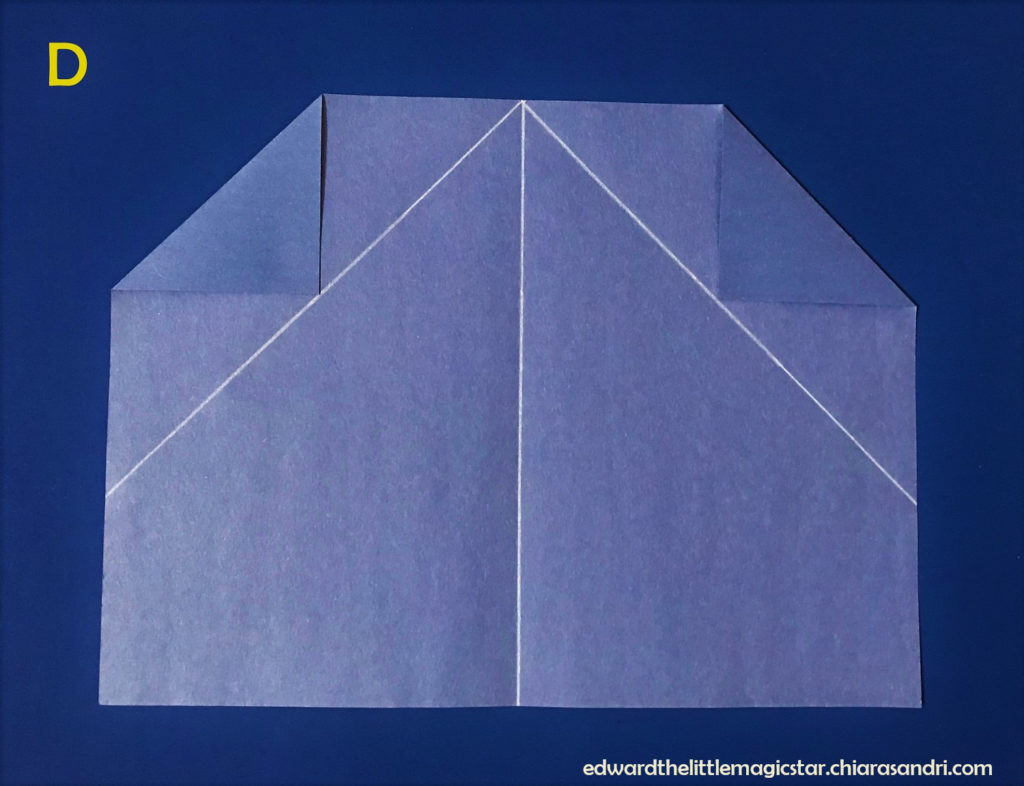
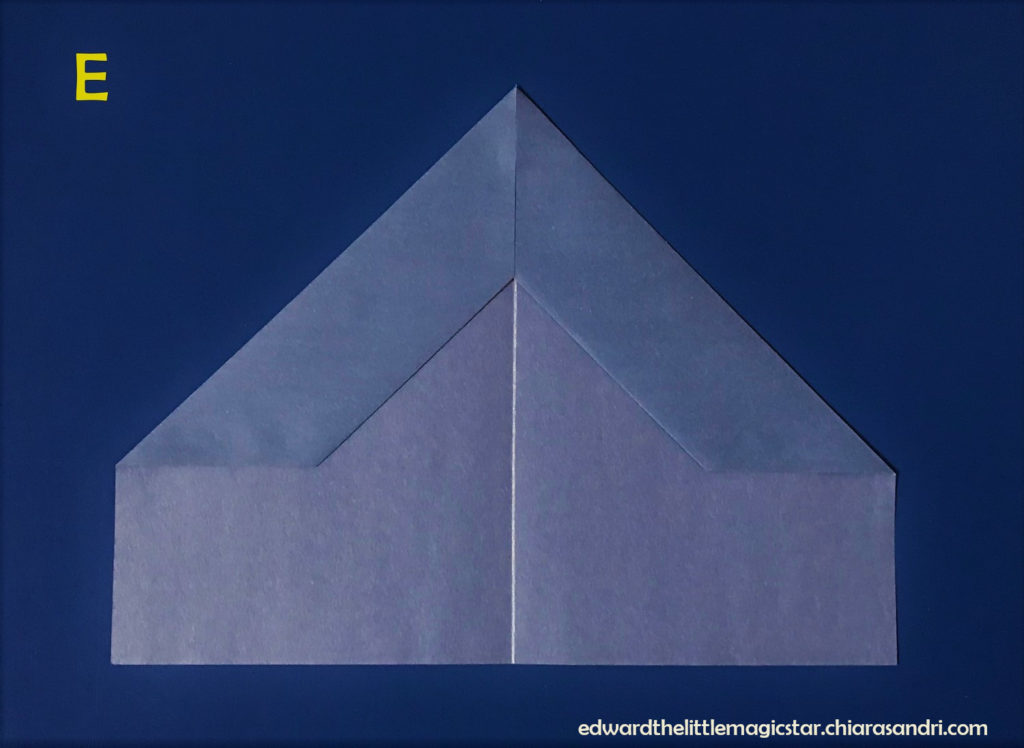
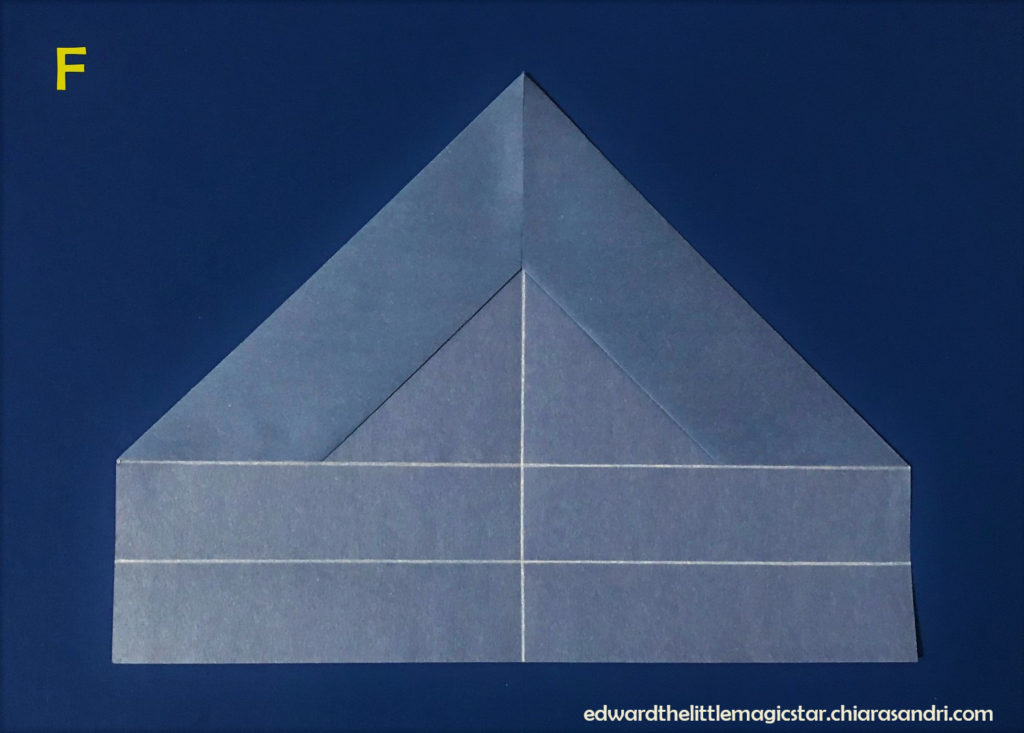
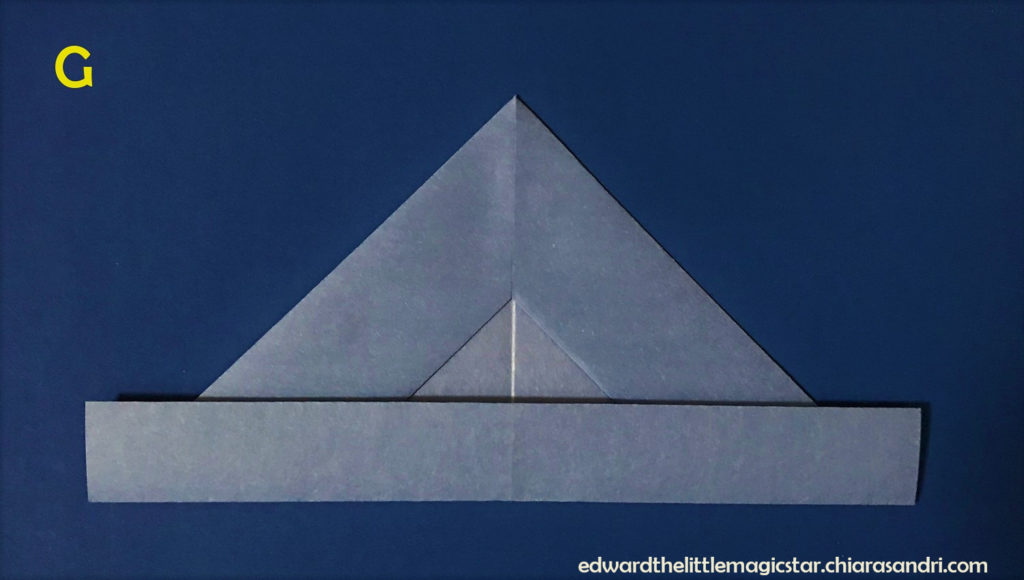
After repeating these steps for each sheet, your blue sheets should now look like the ones in the following picture:
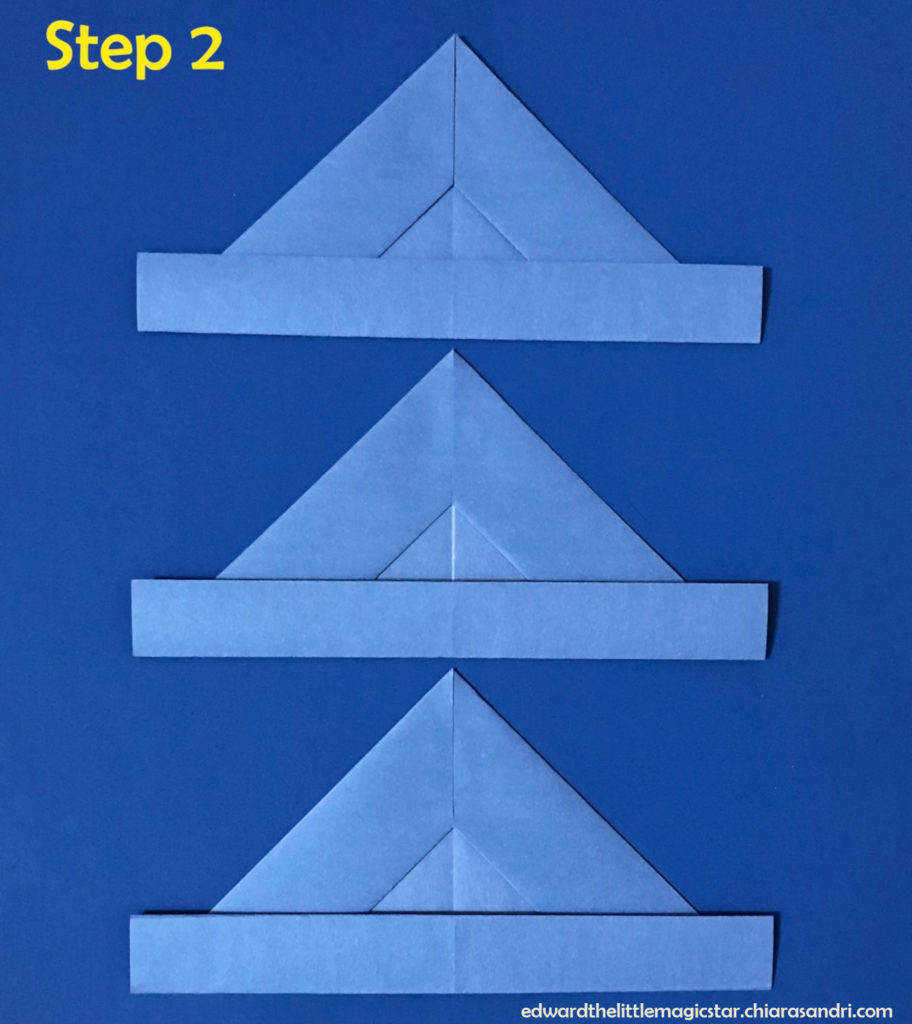
Step 3: now it’s time to put the sheets all together, in order to form a sort of crown that will support the three templates of our magic hat. Connect the sheets one to each other using a stapler or some tape.
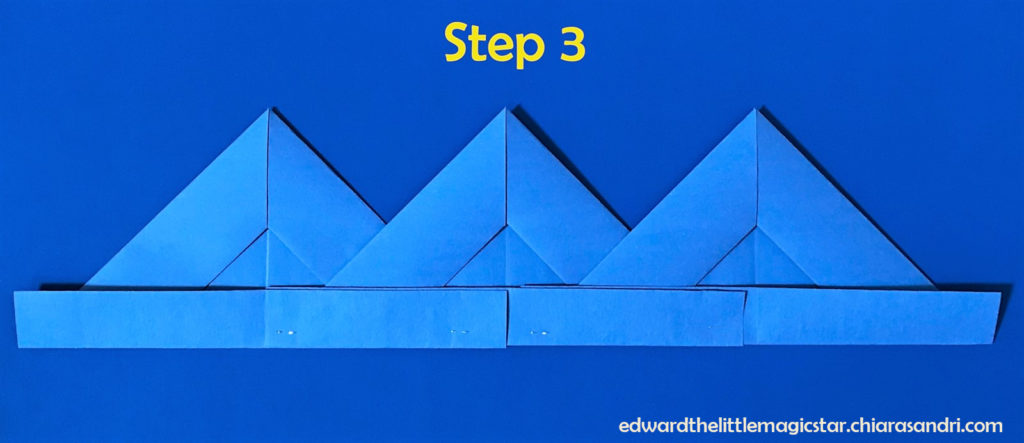
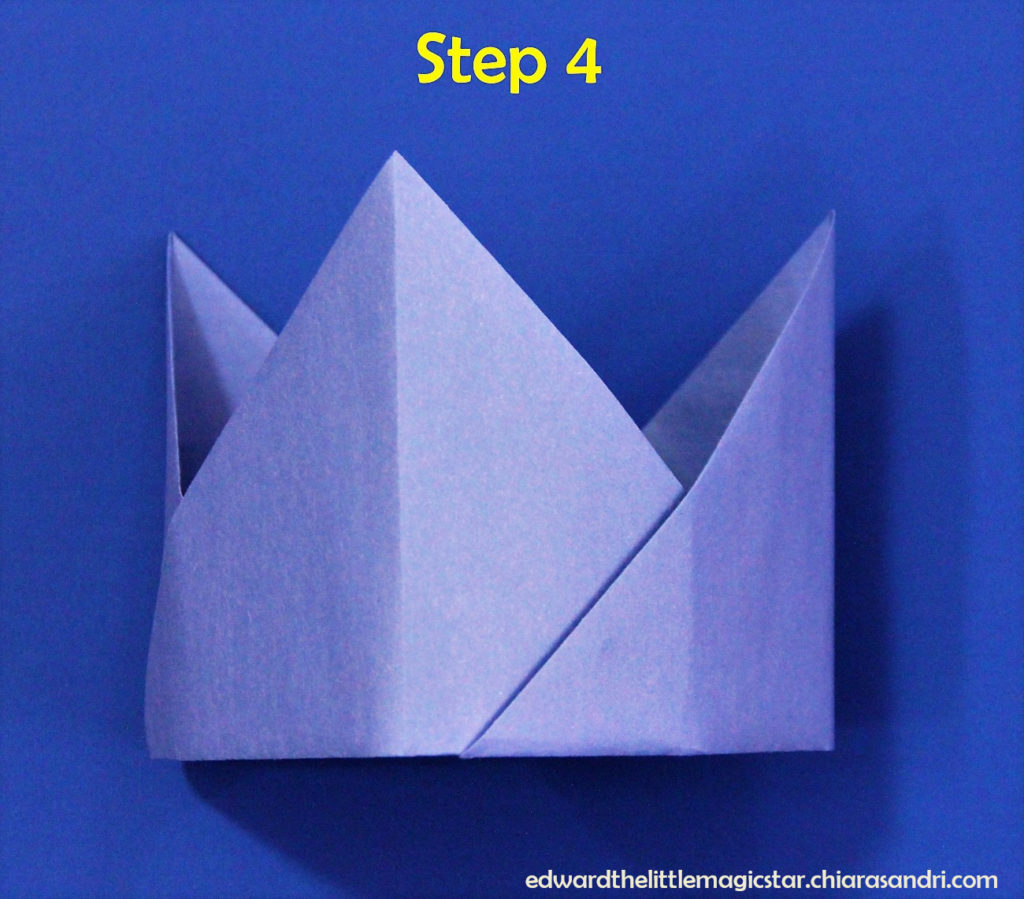
Step 4: roll the connected sheets and create a crown. Try it on, in order to take the correct measure of your head!
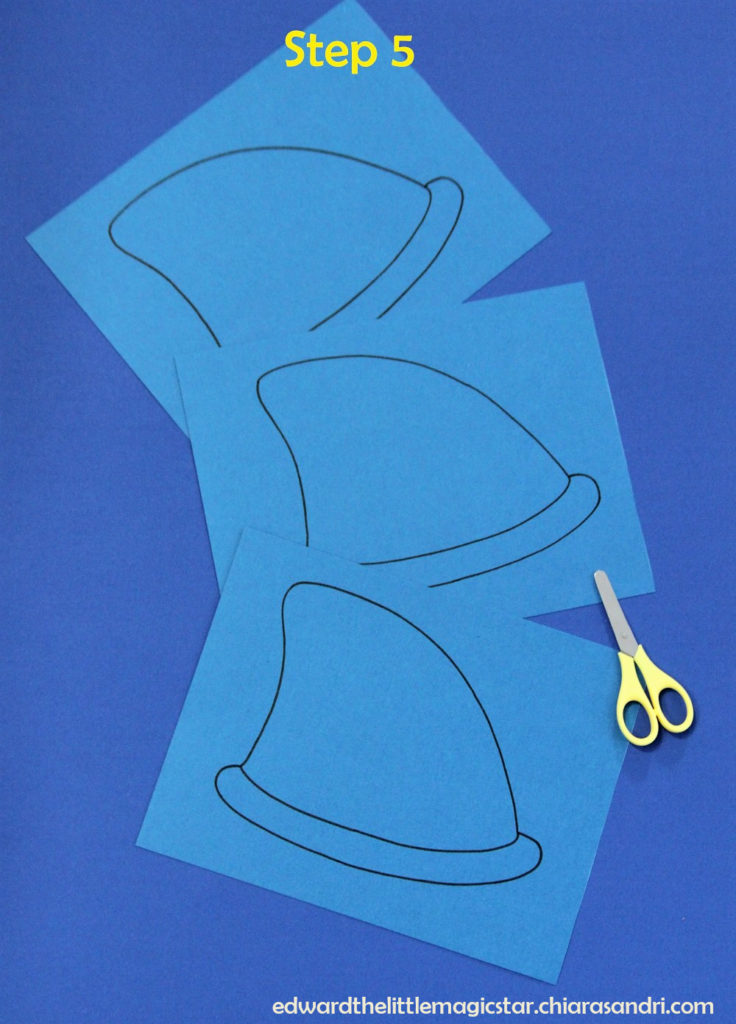
Step 5: go back to the hat templates and color them in blue if you want to make your magic hat like Edward’s one. Or you can choose another color if you want to create a new version of the magic hat! I chose to copy the hat template on a blue paper board in order to make it “stronger”. Than cut out the three copies of the template.
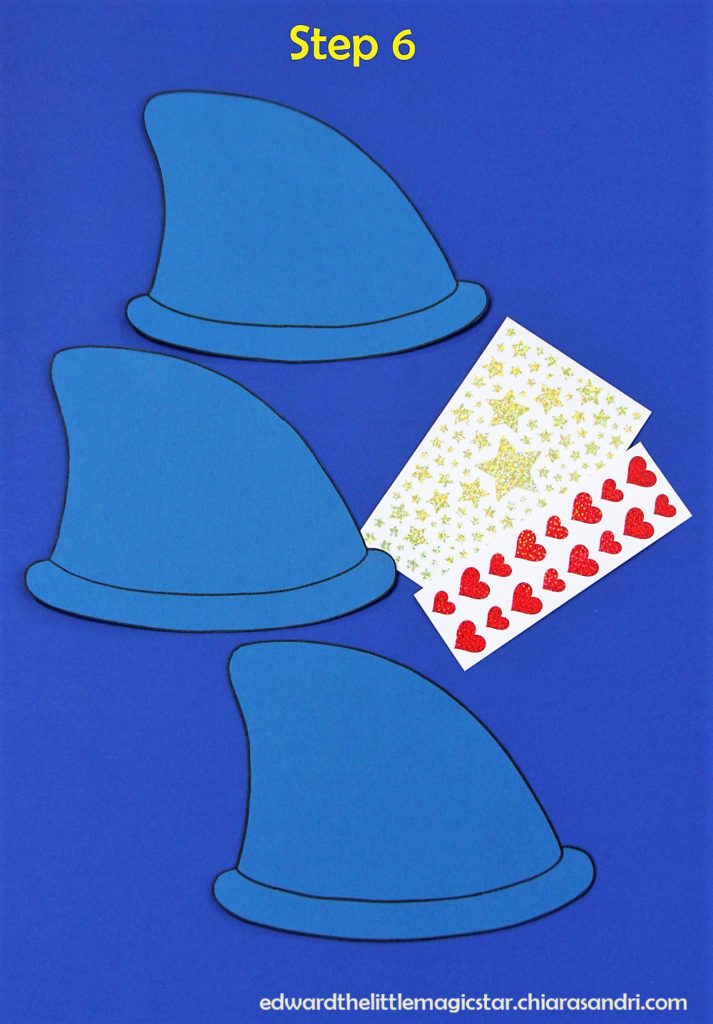
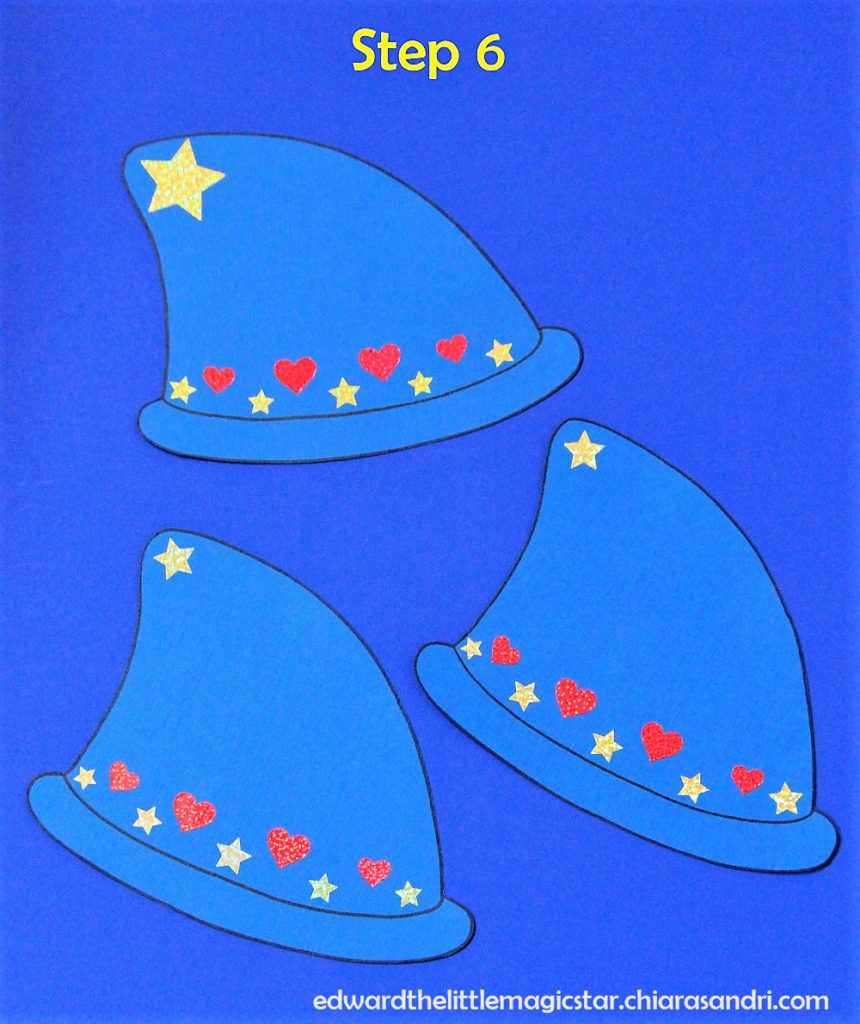
Step 6: decorate your templates with stickers! I chose golden stars and red hearts because I wanted my magic hat to be similar to Edward’s hat. But you can decide to decorate your own hat in the way you prefer.
Step 7: we’re almost finished! You just need to staple one hat template to each vertex of the crown, as you can see in this picture.
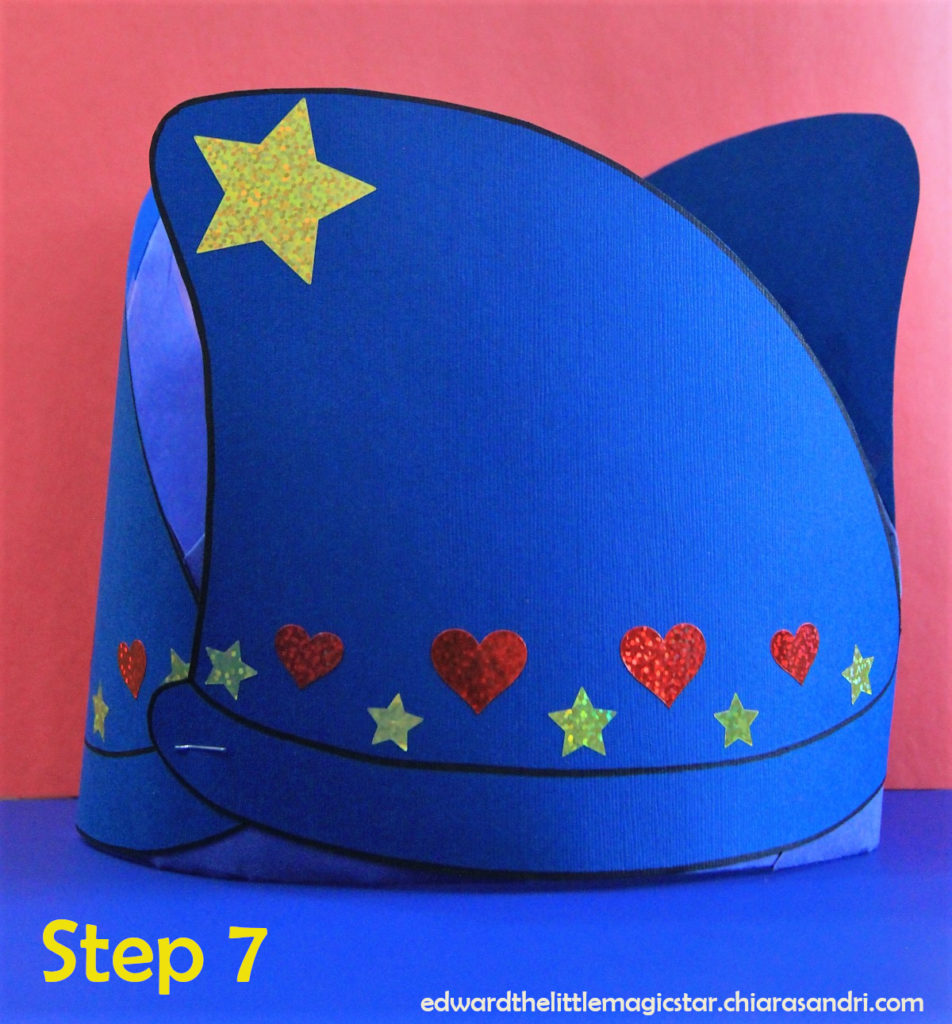
Now your magic hat is completed and ready to follow you and your friends while playing together!
