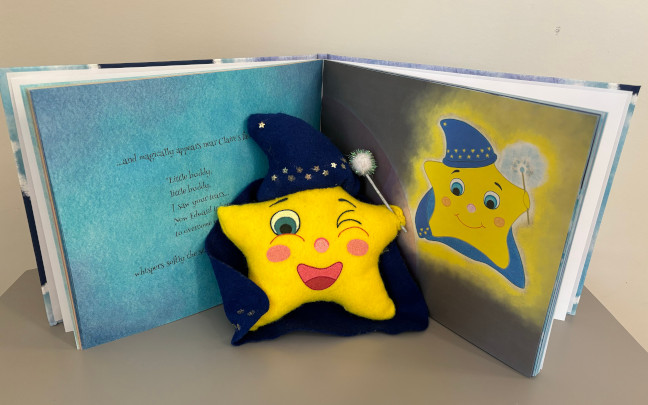
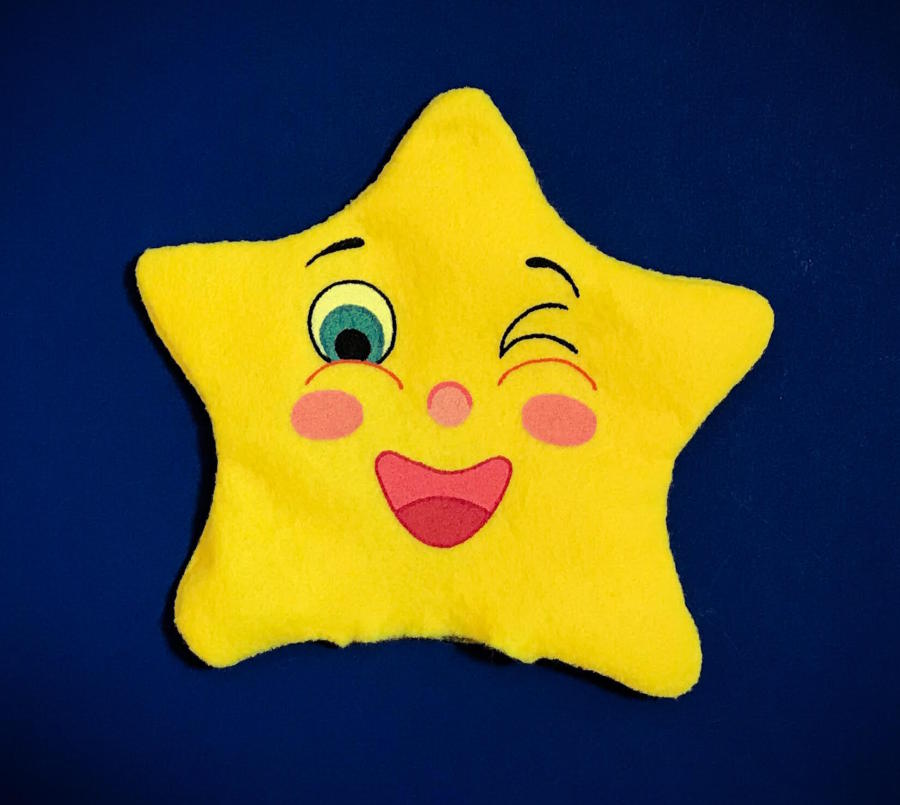
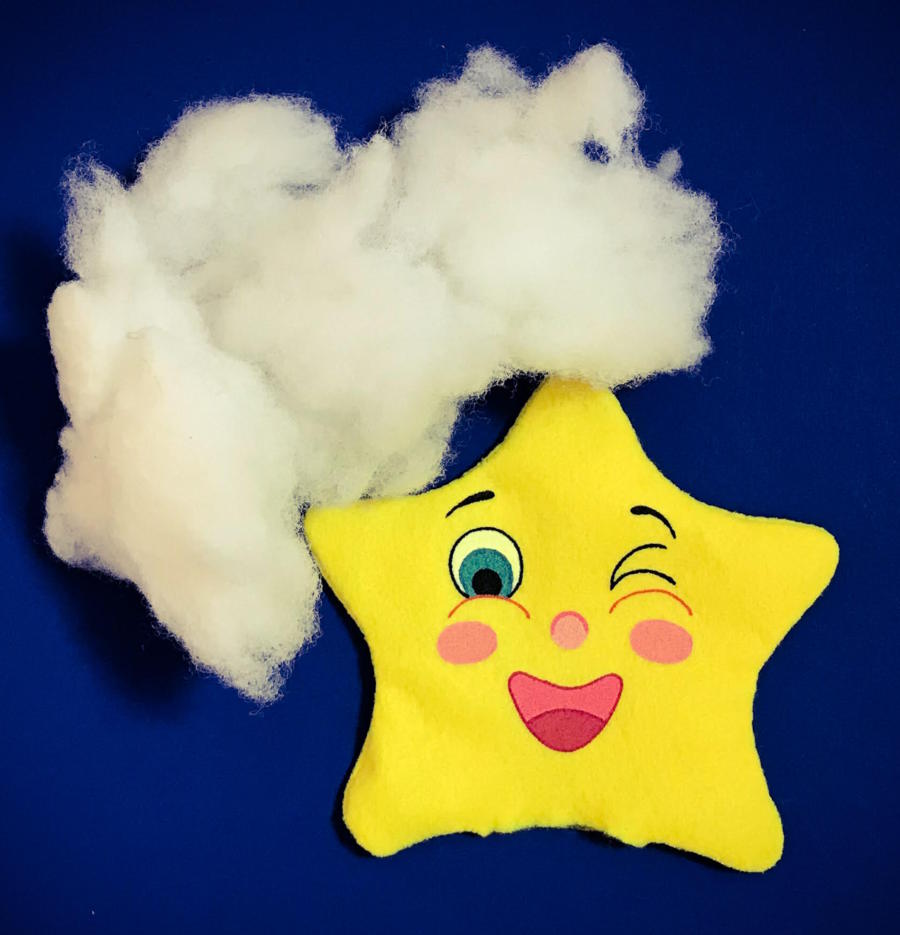
Following the instructions given in this post, you will be able to create your very own stuffed Edward, like the one that I made and that you can see in the picture above. In order to complete this project, the kids will certainly need the help of an adult, so you can realize it all together as a family project.
Remember also that the final felt-made Edward you will obtain won’t be a toy for babies or infants, because of some small parts it will contain and that could be dangerous if used in the wrong way.
Now have fun creating your cute little Edward!
Here’s a list of the materials you will need to create your felt-made Edward; you can also see some of them in the picture below:
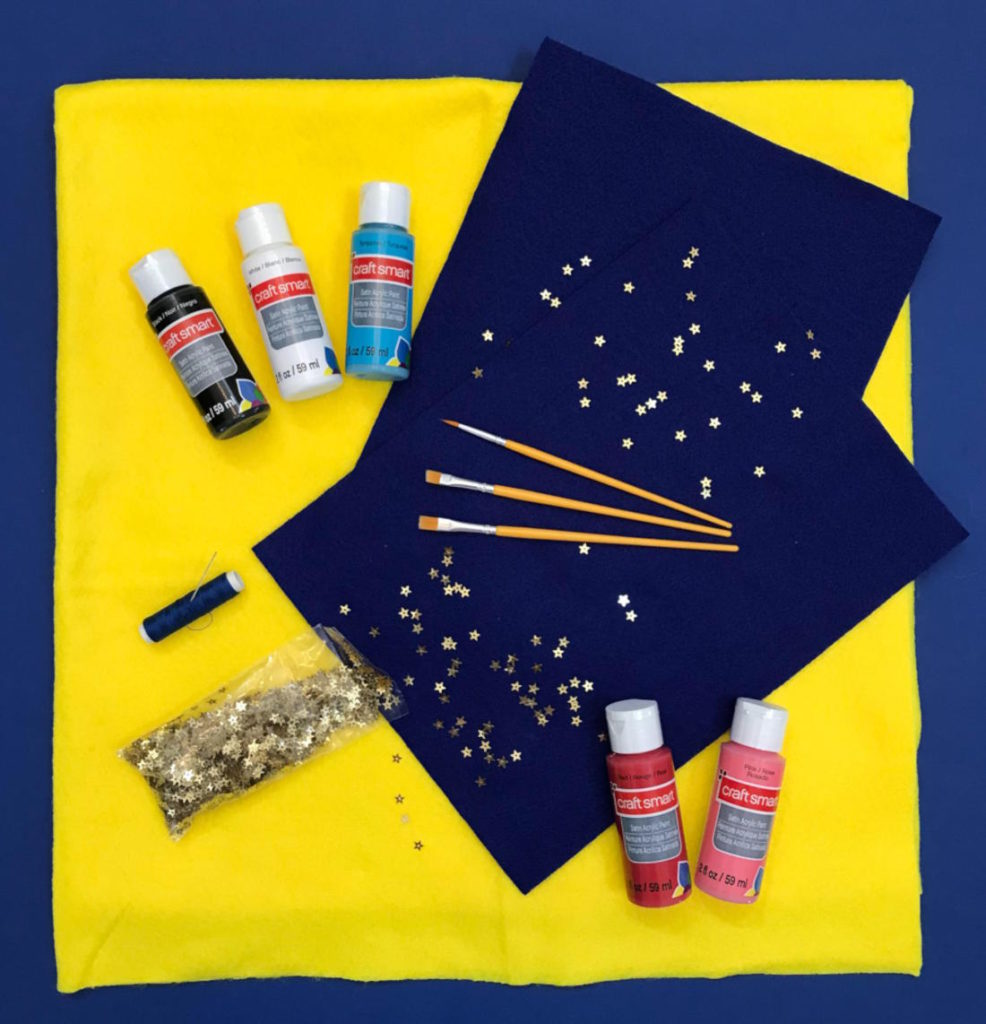
yellow and blu felt; satin acrylic paint or fabric paint; brushes; scissors; needle and thread; stuffing (like the one used for pillows); hot glue or fabric glue; decorative stars; a white pom-pom; a thin stick.
Step 1. Download here the three templates you need to complete this project: Edward template, cape template, magic hat template.
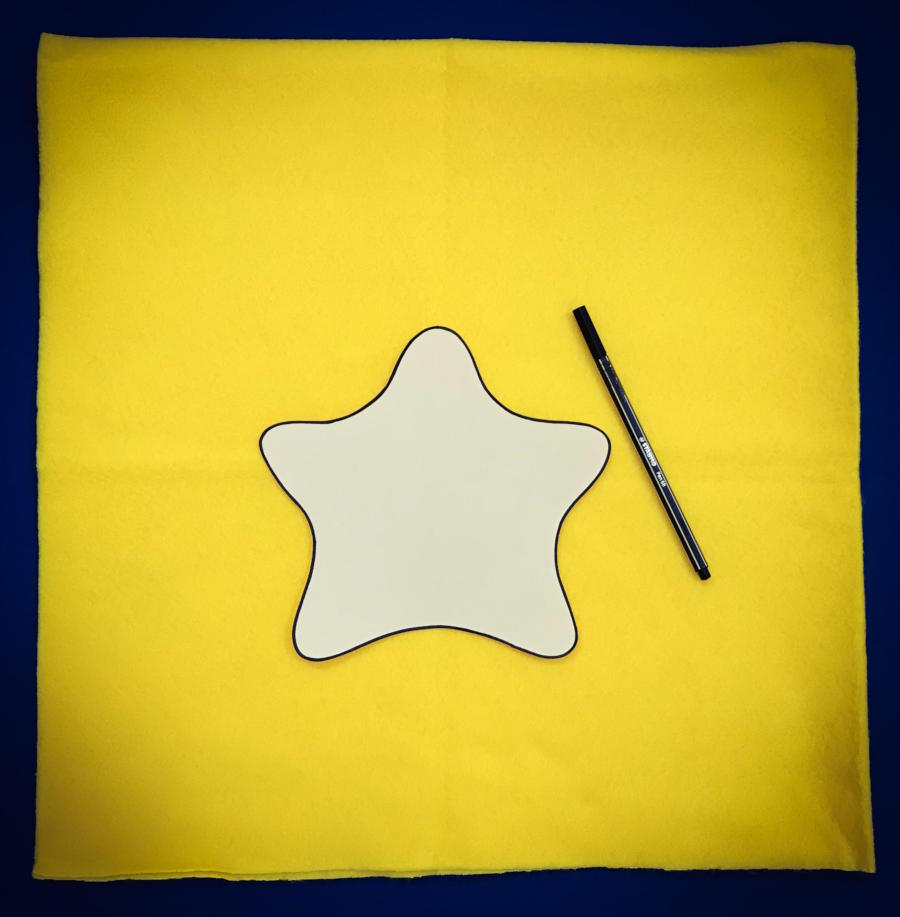
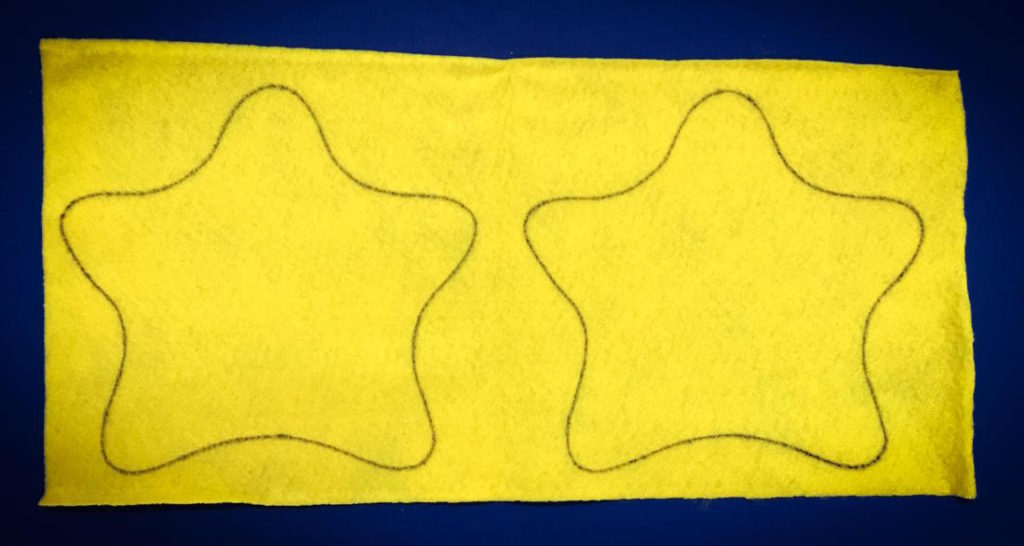
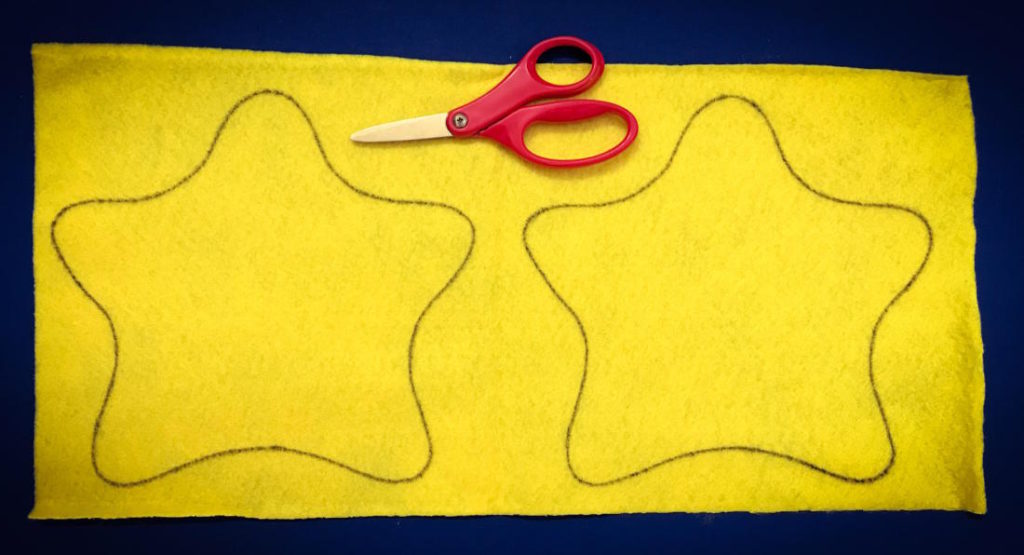
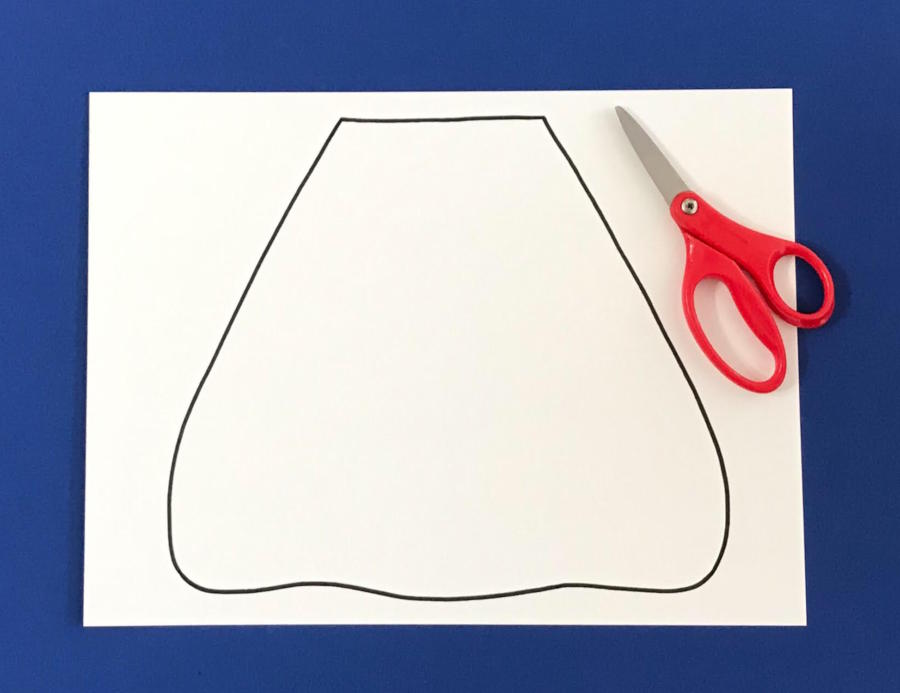
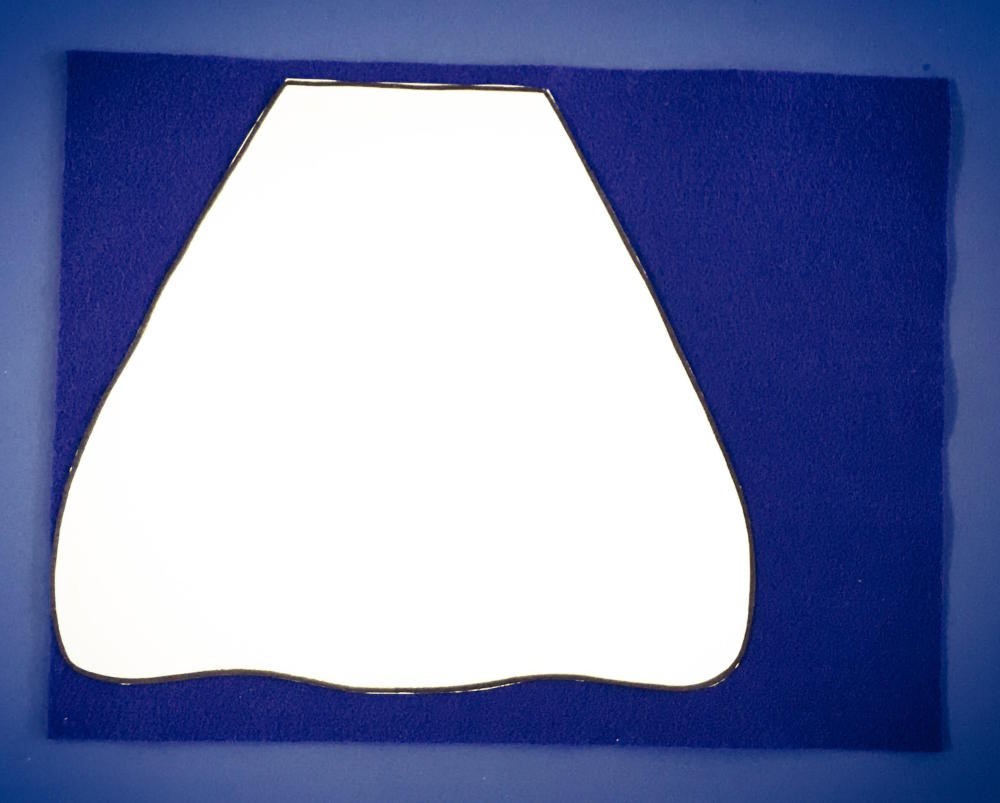
Step 2. Let’s begin to create Edward: cut out the star from Edward template and make two copies of it on a piece of yellow felt, like you see in these two pictures.
Step 3. Cut out the two yellow felt stars.
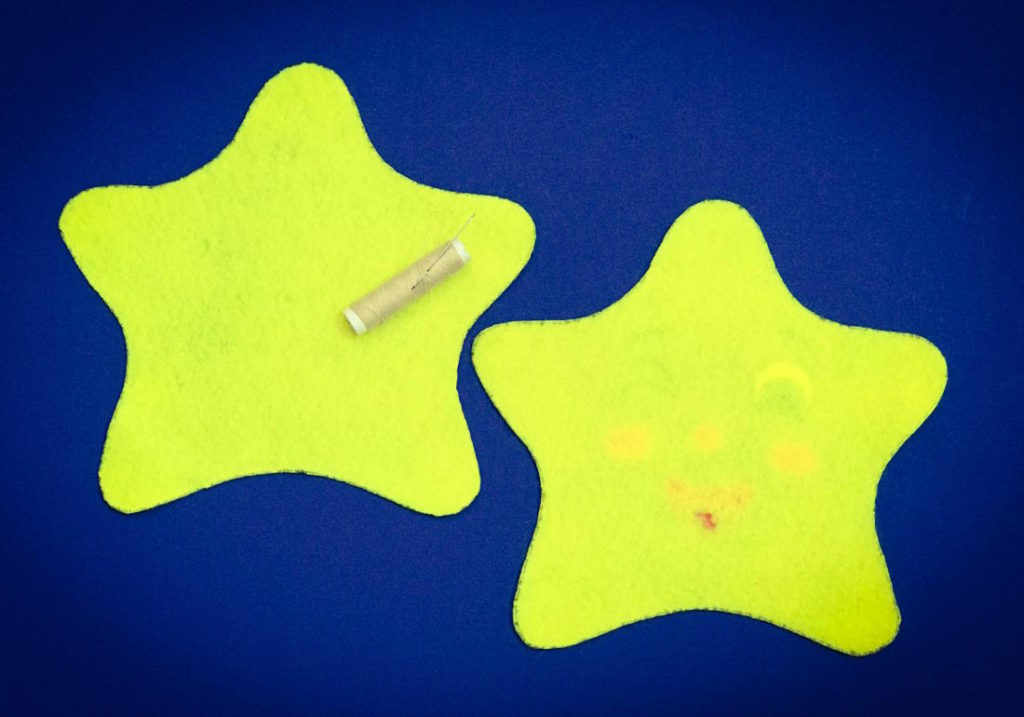
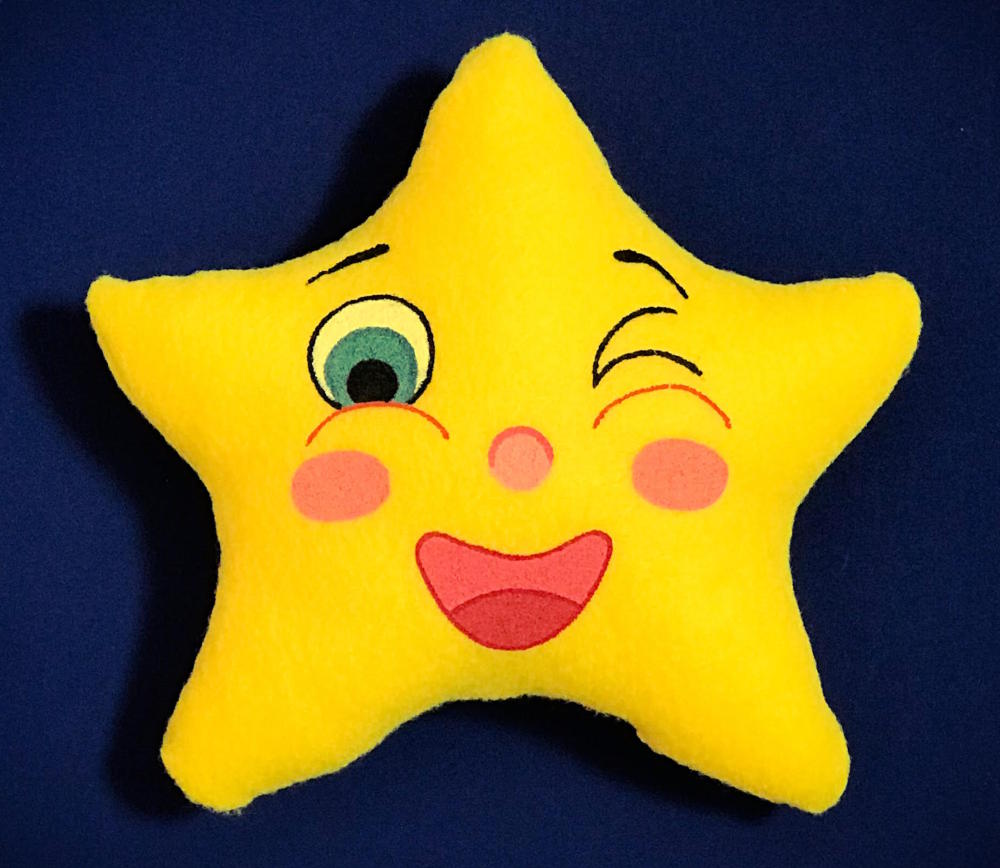
Step 4. Use one of the two stars to create Edward’s face! You can paint it like I did, using satin acrylic paint or fabric paint. The image below shows you the face that you can paint, but you can also decide to do it differently if you prefer; or you can use my drawings in Edward’s book as a template for his smiling face.

Step 5. Now it’s time to sew together the two stars! So you will need the help of an adult: ask mommy or grandma or someone else to help you with it! The two stars must be sewn with the smiling one facing inside.
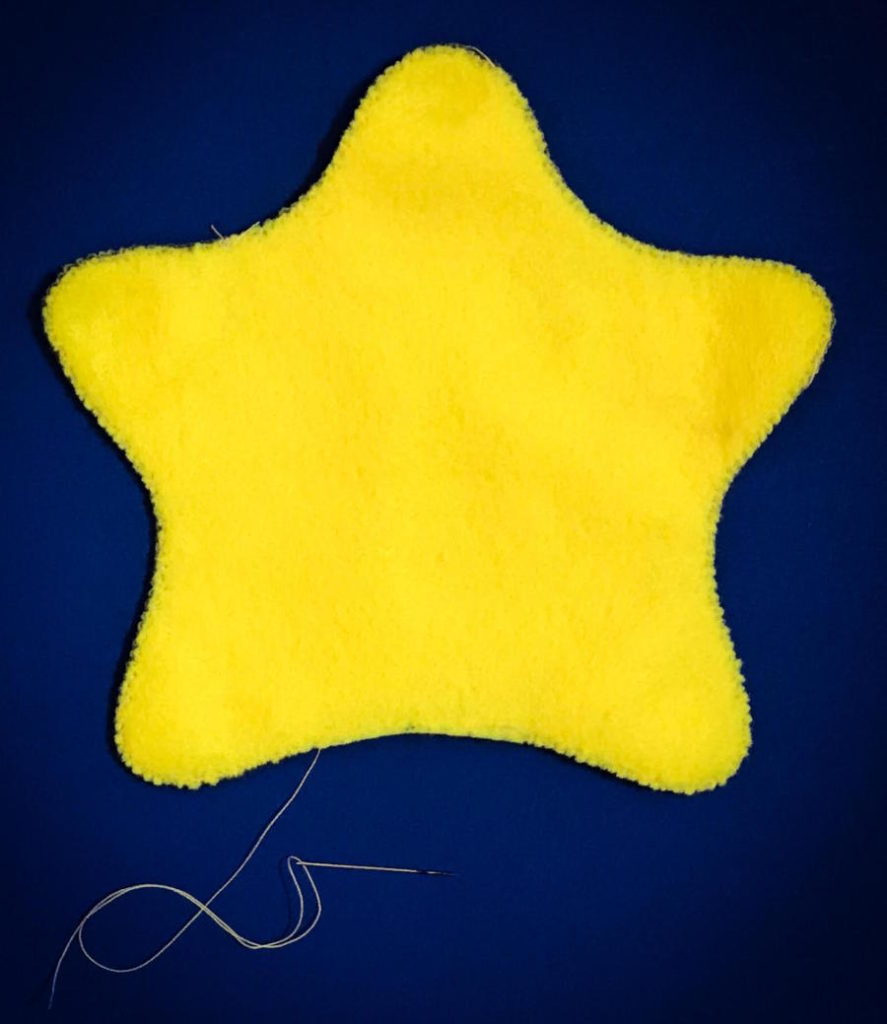
Step 6. Before you finish sewing the two stars, remember to leave a little hole under Edward’s mouth: you’ll need it to fill your star with some stuffing. Once you’re done with sewing, reverse the sewn stars, so that the smiling one will face outside, like you see in this picture.
Step 7. Now you need some stuffing, like the one used for pillows, to fill Edward. You can insert it inside the star using the little hole you left under Edward’s mouth.
Step 8. Just close the hole under Edward’s mouth and your little stuffed friend will be almost ready!
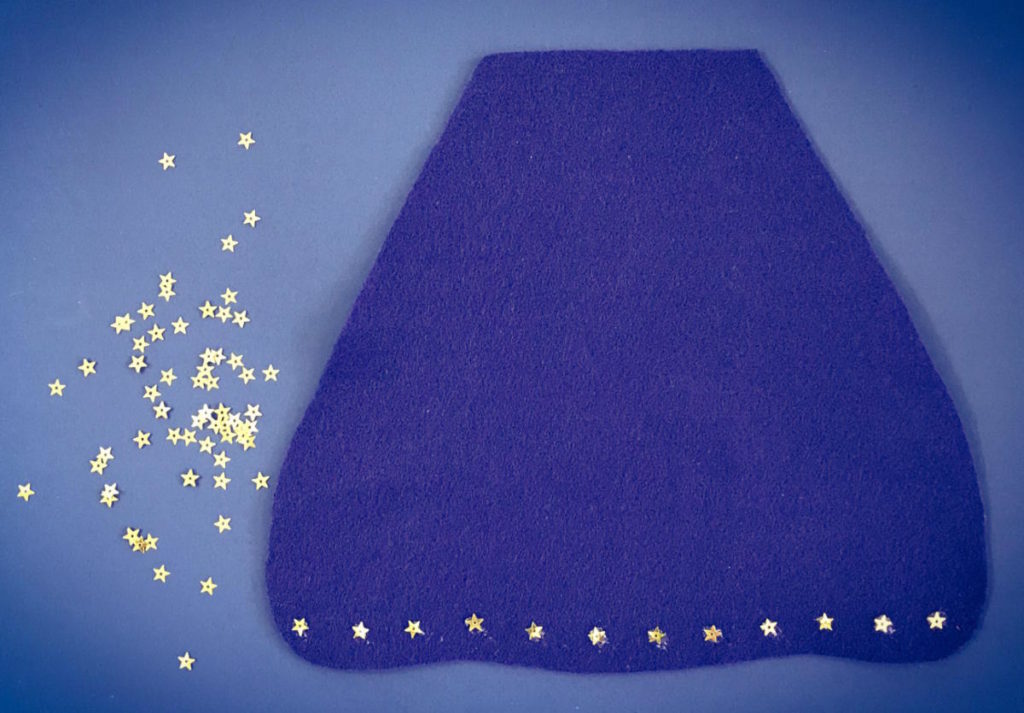
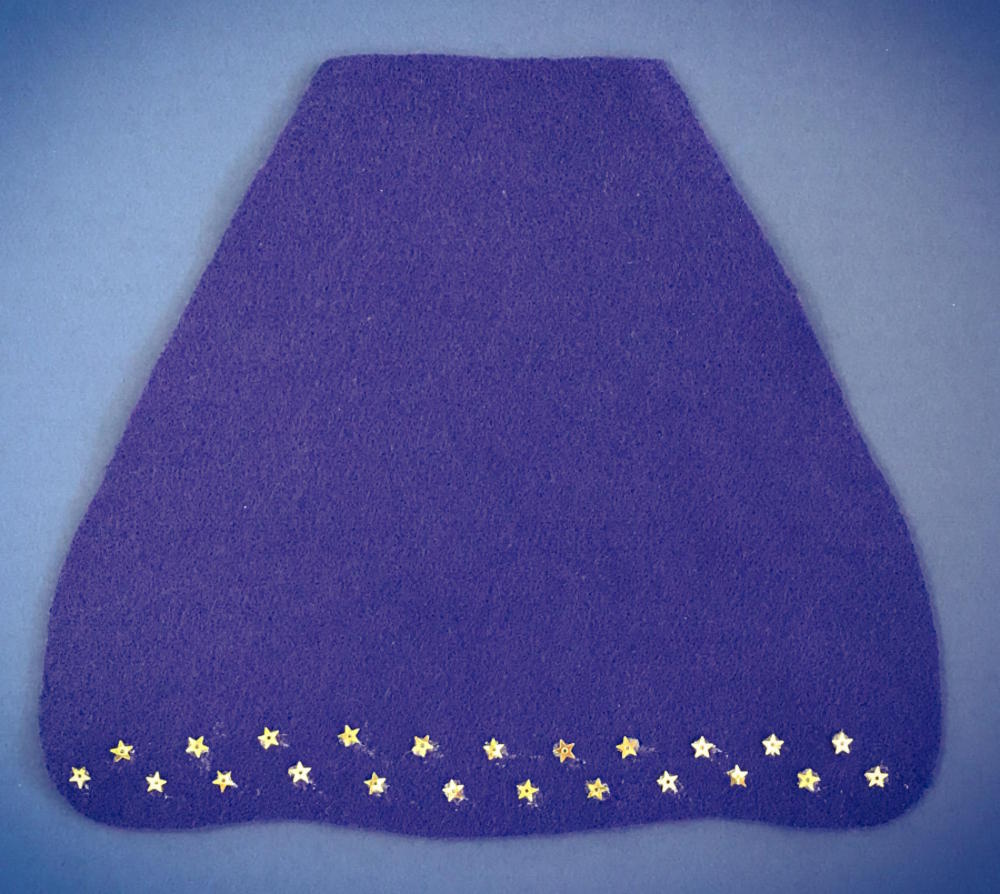
Step 9. Let’s create Edward’s cape! Cut out the cape from the template you downloaded at the very beginning and copy it on a piece of blu felt; then cut it out.
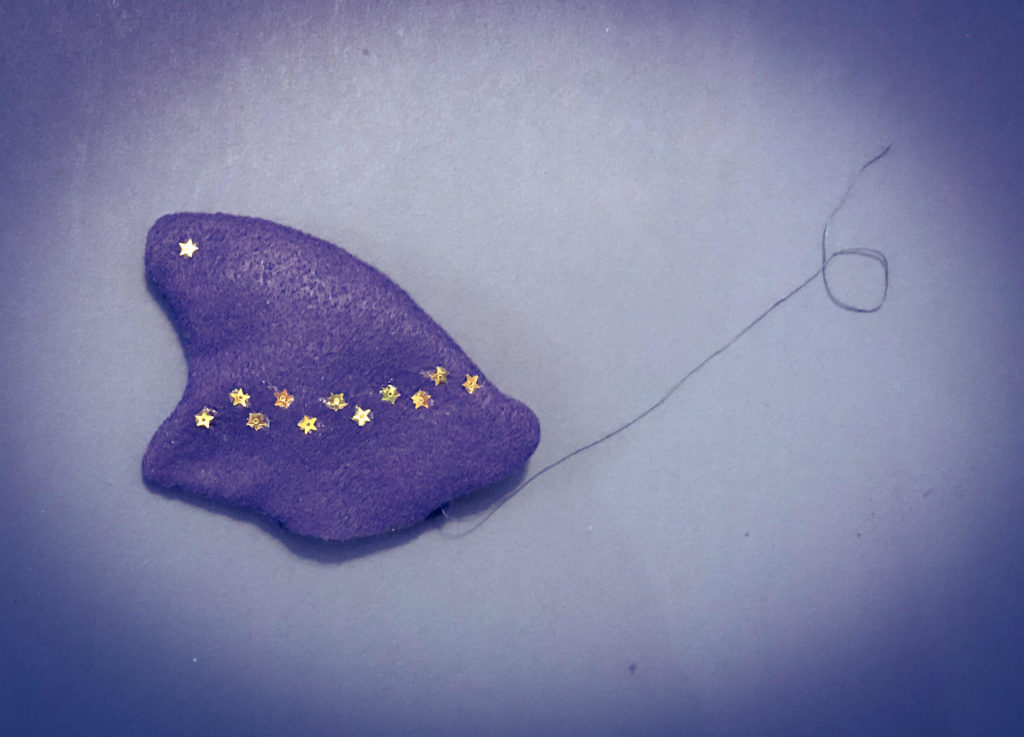
Step 10. We’re going to add a touch of magic to the cape: take some tiny golden stars like the ones in the picture below and paste them to the bottom of the cape using hot glue or fabric glue. Again, ask mom or dad to help you!
Step 11. Sew the cape to Edward, as you can see in these two pictures.
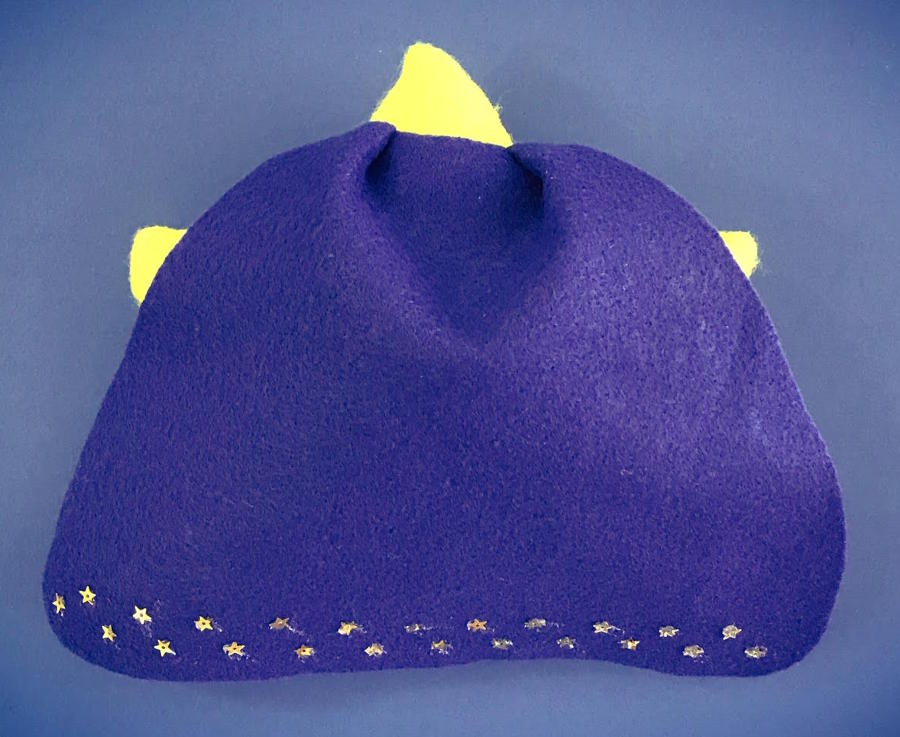

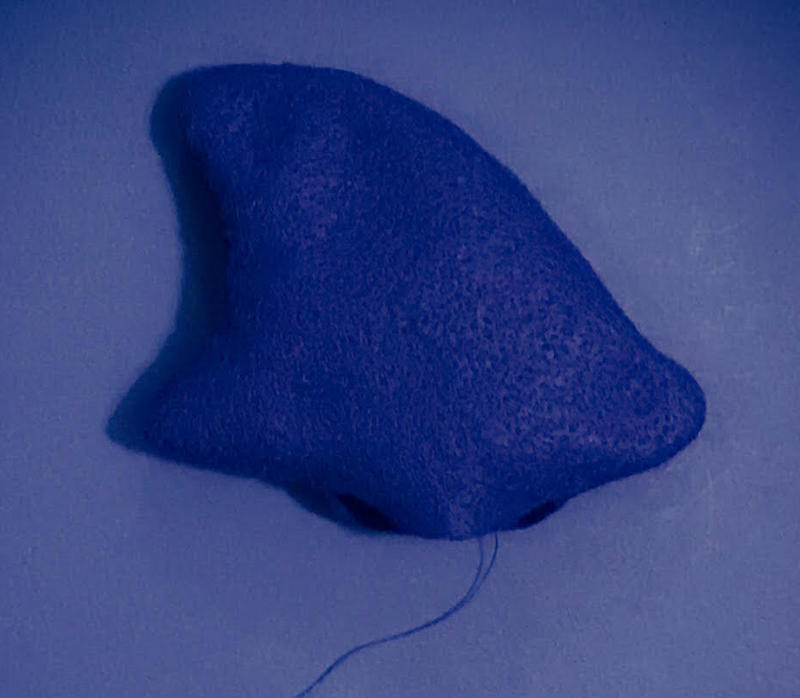
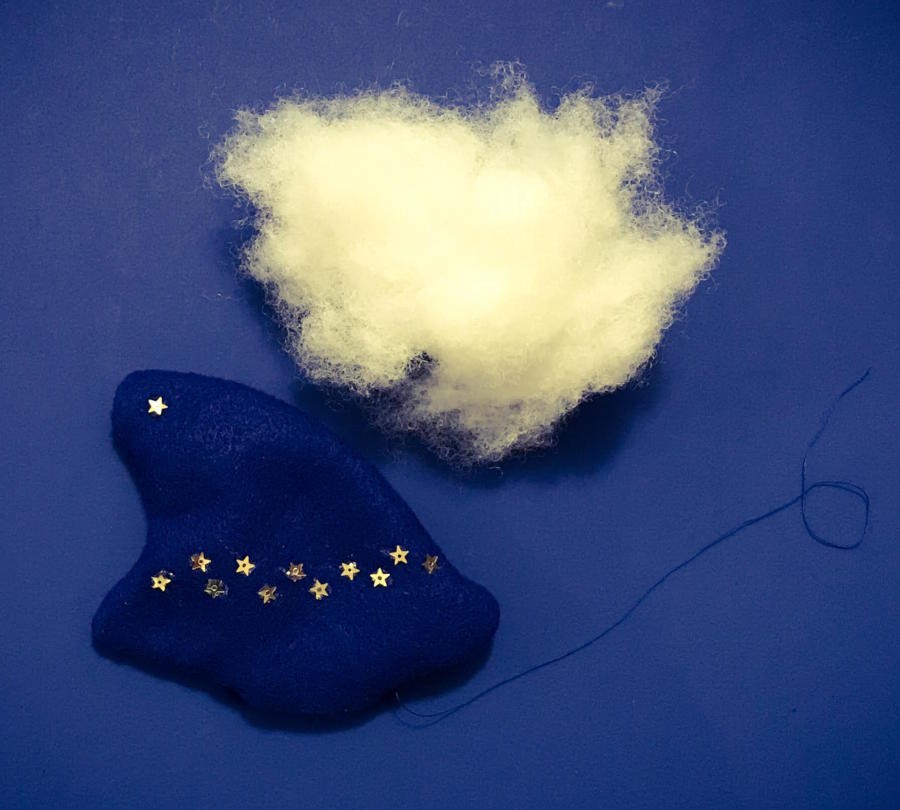
Step 12. Time for the magic hat! Cut it out from the template and make two copies of it on a piece of blu felt; then cut out the two copies. You’ll need to sew them in the same way we did for the two stars, leaving again a little hole at the bottom, in order to fill the magic hat with some stuffing. Once the two copies of the cape are sewn, reverse them: the hat should now appear like the one in the picture.
Step 13. Decorate the magic hat with the same tiny golden stars you used for the cape!
Step 14. Now fill the magic hat with some stuffing, the same you used to fill Edward.
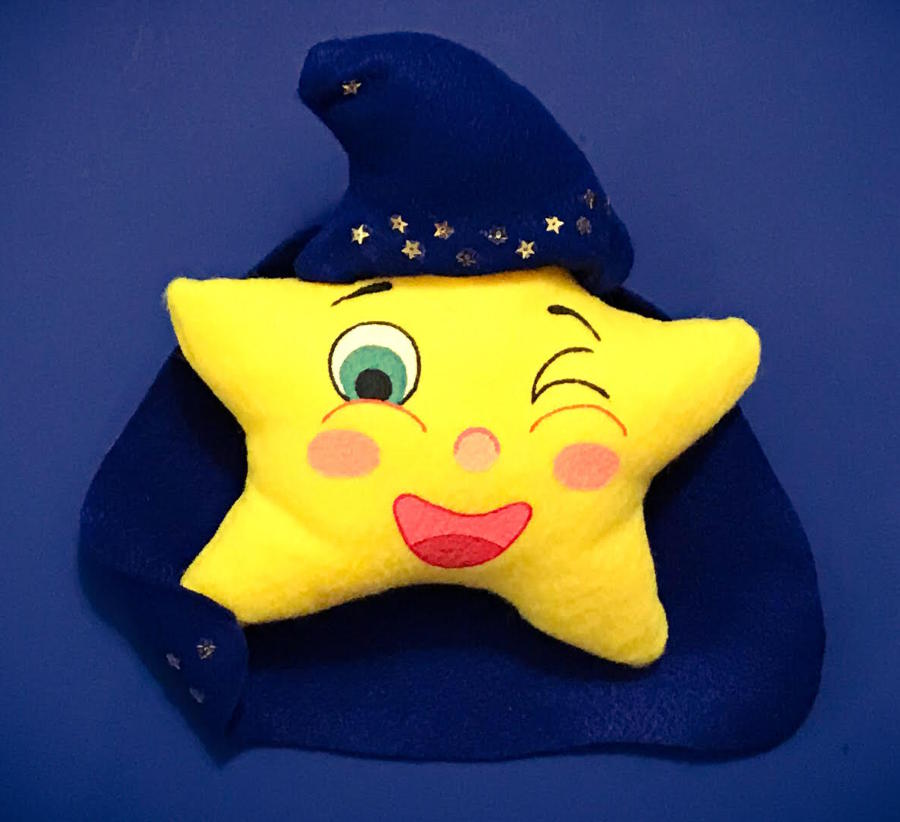
Step 15. Edward is almost ready! You just have to sew the magic hat onto his head and he will appear like the one in this picture.
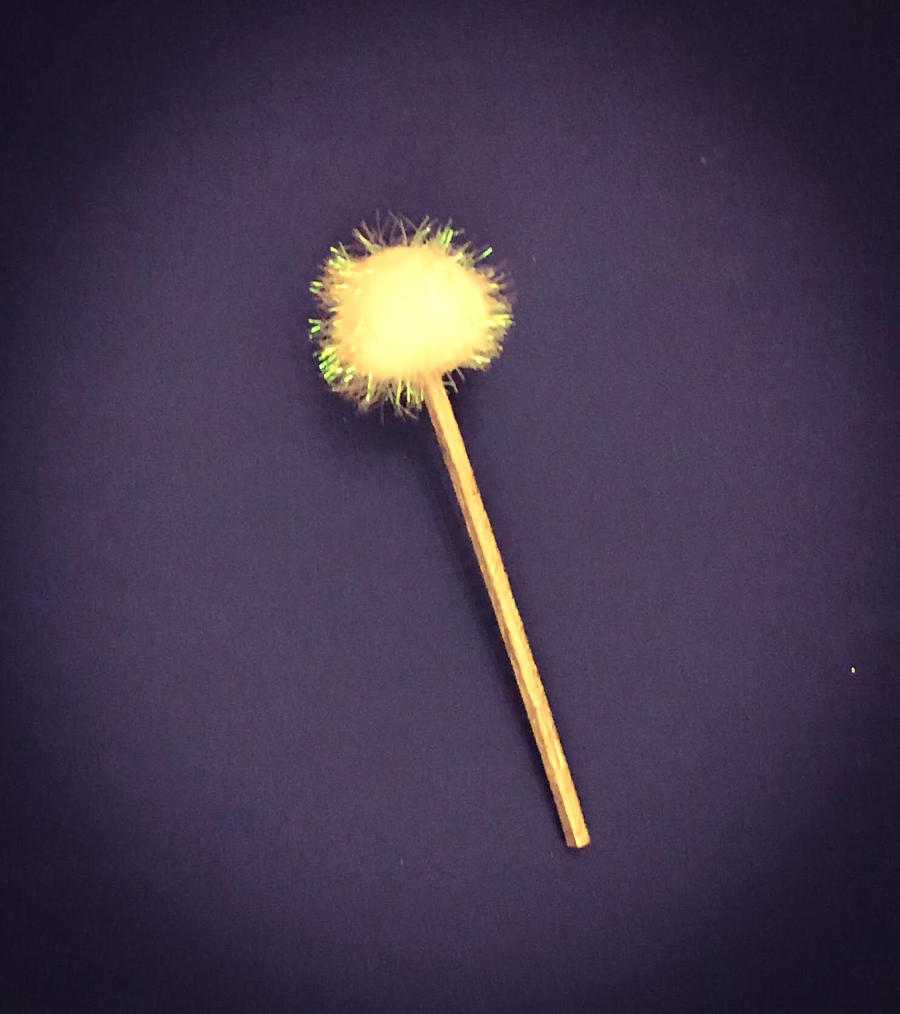
Step 16. Aren’t we forgetting something? Edward needs his magic wand so…let’s create it! Take a thin stick, a little white pom-pom and a silver marker, like the ones you see below.
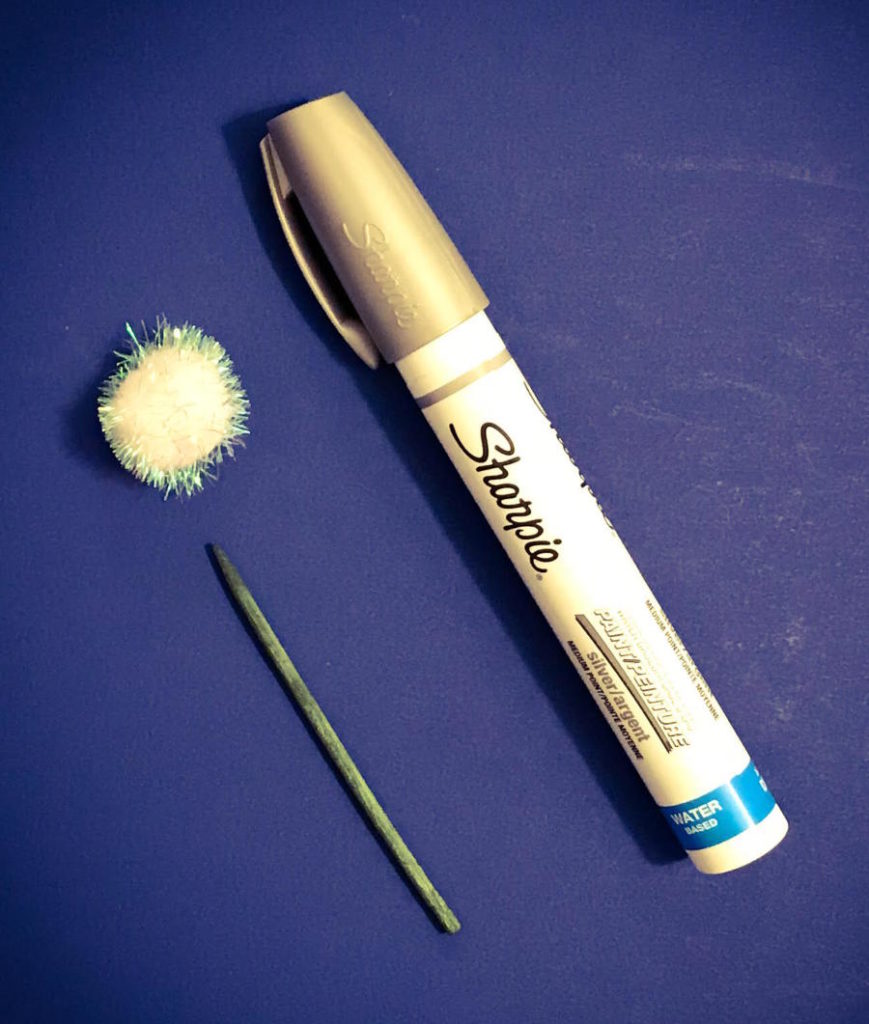
Color the stick in silver and then glue the white pom-pom on the top of it, using hot glue. In this way, the little magic wand will look like the one in the picture.
Step 17. This is our last step in the creation of your felt-made Edward! Just sew the magic wand to Edward’s hand and your cute stuffed friend will be finished.
Your cute felt-made Edward is now ready to play with you and to give you a smile whenever you look at him! Keep him tight when you read his adventures!